概述 #
本文将详细介绍如何使用Conda创建一个专门用于语音转换(Voice Conversion)项目的Python开发环境。这些命令组合在一起,为我们搭建了一个包含必要科学计算库,并集成Jupyter Notebook支持的完整开发环境。
详细命令解析 #
1. 创建新环境 #
conda create -n voice_env python=3.10 numpy=1.24 scipy matplotlib pandas -c conda-forge -y
参数解析:
conda create:创建新的虚拟环境-n voice_env:指定环境名称为voice_envpython=3.10:指定Python版本为3.10(平衡了新特性与稳定性)numpy=1.24:安装NumPy 1.24版本(指定版本确保兼容性)scipy:安装SciPy库(科学计算核心工具)matplotlib:安装数据可视化库pandas:安装数据分析库-c conda-forge:从conda-forge频道安装(通常有更多、更新的包)-y:自动确认所有提示(无需手动输入yes)
环境命名建议: 使用描述性名称如voice_env有助于识别环境用途,便于多项目管理。
2. 激活新环境 #
conda activate voice_env
作用:
- 切换到刚刚创建的
voice_env环境 - 所有后续安装的命令包都会安装到此环境中
- 与系统Python环境隔离,避免版本冲突
注意: 在Windows系统上,如果使用PowerShell,可能需要先运行conda init powershell初始化。
3. 安装Jupyter内核支持 #
conda install ipykernel -y
功能说明:
ipykernel是Jupyter内核的核心组件- 允许Jupyter Notebook/Lab运行此环境中的Python代码
- 提供代码执行、调试和交互式开发的能力
4. 将环境注册为Jupyter内核 #
python -m ipykernel install --user --name=voice_env --display-name="Python (Voice Conversion)"
参数详解:
python -m ipykernel install:使用当前环境中的Python注册内核--user:安装到用户目录,无需管理员权限--name=voice_env:内核内部标识符--display-name="Python (Voice Conversion)":在Jupyter界面中显示的名称
显示名称的作用: 在Jupyter的"New"下拉菜单中,会显示"Python (Voice Conversion)",方便识别。
安装语音转换专用包 #
在成功创建基础环境后,我们需要安装语音转换项目专用的音频处理和深度学习库。
核心音频处理包安装 #
# 安装音频处理包
pip install librosa soundfile so-vits-svc-fork
包功能详解: #
- Librosa:音频分析专业库
- 音频加载和保存(支持多种格式)
- 时频分析(STFT、Mel频谱图)
- 特征提取(MFCC、色度特征、节拍跟踪)
- 音高估计和谐波分析
- SoundFile:高效音频文件I/O
- 基于libsndfile,支持WAV、FLAC、OGG等格式
- 比librosa自带的音频I/O更高效
- 提供低级别的音频数据访问
- so-vits-svc-fork:语音转换深度学习框架
- 基于VITS(Variational Inference with adversarial learning for end-to-end Text-to-Speech)的歌声/语音转换系统
- 支持实时语音转换
- 包含预训练模型和训练工具
- Fork版本通常包含更多功能和改进
开发工具增强包 #
# 可选:安装其他常用工具
pip install tqdm rich jupyterlab
开发工具说明: #
- tqdm:进度条显示
- Rich:终端富文本输出
- JupyterLab:下一代Jupyter界面
- 模块化界面,可拖拽调整布局
- 集成终端、文本编辑器、数据查看器
- 支持扩展插件生态系统
Jupyter Notebook集成 #
启动Jupyter Notebook
jupyter notebook
- 重新启动Jupyter(如果正在运行):
- 如果Jupyter已经在运行,需要重启服务以识别新内核
- 在终端按
Ctrl+C停止服务,然后重新启动
- 创建或打开Notebook:
- 在Jupyter界面点击"New"按钮
- 选择"Python (Voice Conversion)“内核
- 手动切换运行中的Notebook内核:
- 在已打开的Notebook中
- 点击顶部菜单:
Kernel→Change kernel - 选择
Python (Voice Conversion)
- 验证Notebook环境:
# 在Notebook单元格中运行
import sys
print(f"Python executable: {sys.executable}")
print(f"Python version: {sys.version}")
# 测试导入关键库
import numpy as np
import librosa
import soundfile as sf
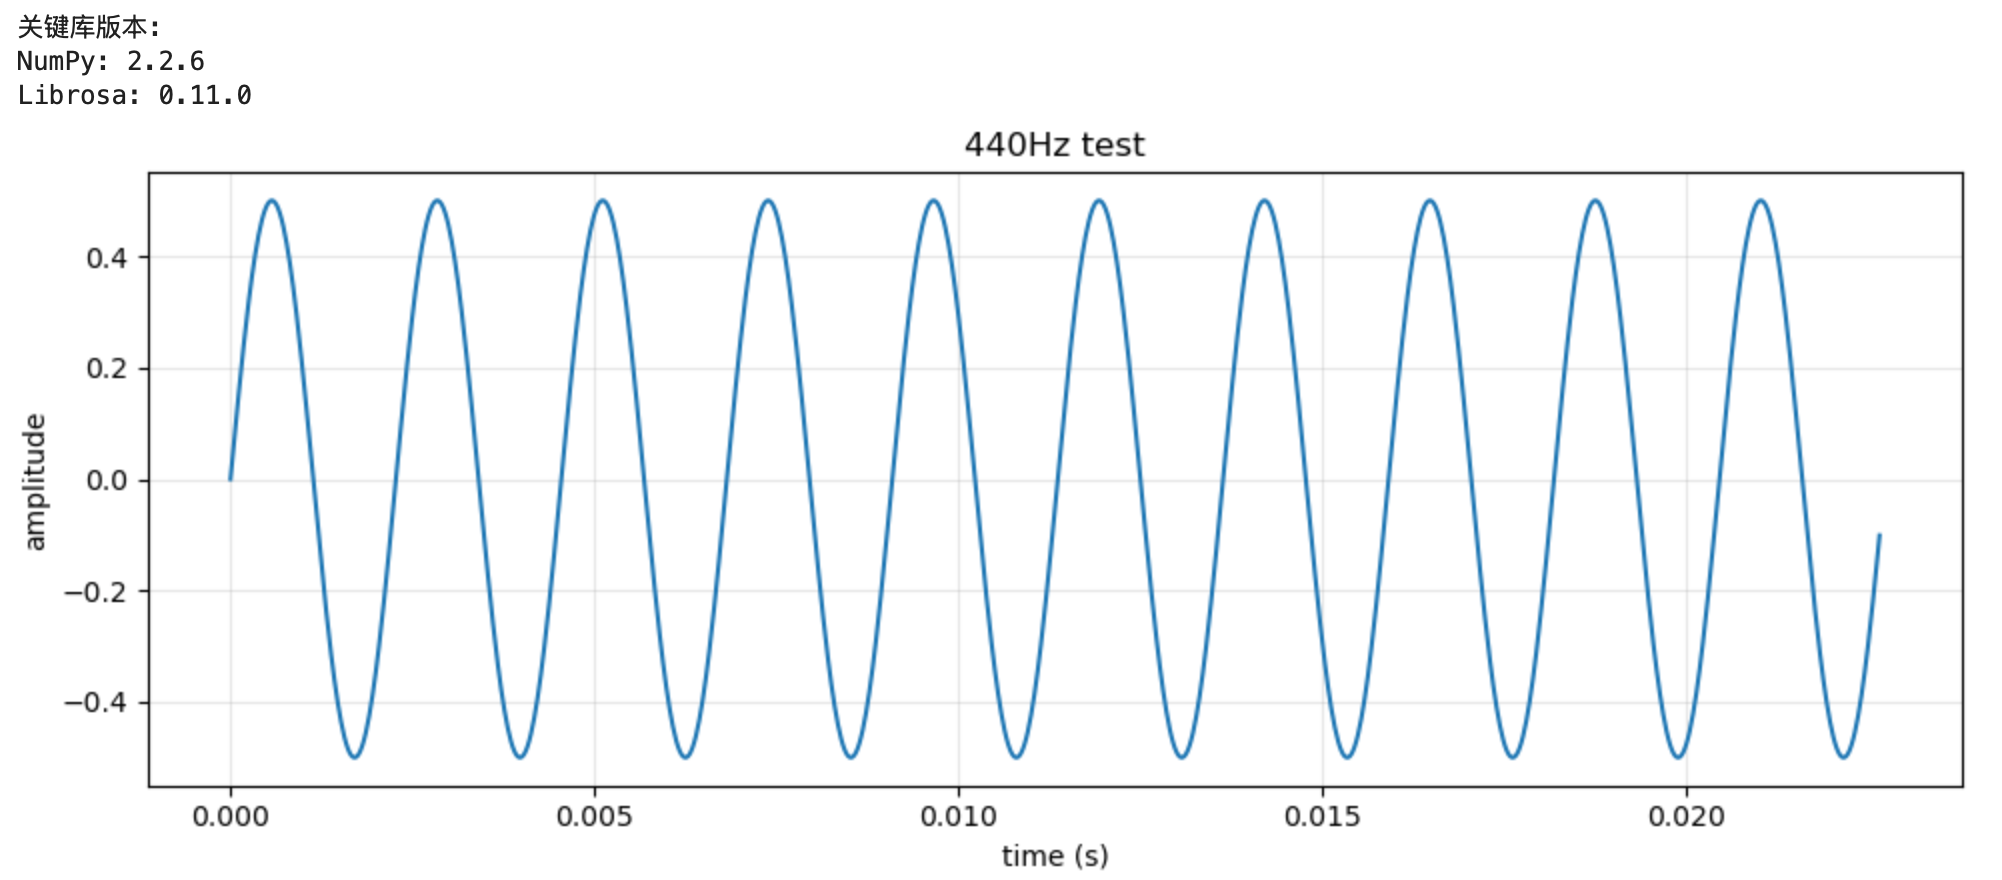
print("\n关键库版本:")
print(f"NumPy: {np.__version__}")
print(f"Librosa: {librosa.__version__}")
# 创建简单音频可视化
import matplotlib.pyplot as plt
# 生成测试信号
fs = 44100 # 采样率
t = np.linspace(0, 1, fs) # 1秒时间轴
freq = 440 # 频率 (Hz)
signal = 0.5 * np.sin(2 * np.pi * freq * t)
# 绘制波形
plt.figure(figsize=(10, 4))
plt.plot(t[:1000], signal[:1000]) # 只显示前1000个样本
plt.title('440Hz正弦波测试信号')
plt.xlabel('时间 (秒)')
plt.ylabel('振幅')
plt.grid(True, alpha=0.3)
plt.tight_layout()
plt.show()
创建语音转换示例Notebook #
以下是完整的示例代码,展示基础音频处理流程。可以讲第一首歌曲演唱者的音色提取出来,转换成第二首歌的音色。
def voice_conversion(source_path, target_path, output_path):
    """
    改进的音色转换方法
    使用频谱转换技术
    """
    import librosa
    import numpy as np
    import soundfile as sf
    from scipy import signal

    # 加载音频
    source_audio, sr1 = librosa.load(source_path, sr=None)
    target_audio, sr2 = librosa.load(target_path, sr=None)

    print(f"源音频采样率: {sr1}, 时长: {len(source_audio)/sr1:.2f}秒")
    print(f"目标音频采样率: {sr2}, 时长: {len(target_audio)/sr2:.2f}秒")

    # 统一采样率
    target_sr = 22050  # 设置一个标准的采样率
    if sr1 != target_sr:
        source_audio = librosa.resample(source_audio, orig_sr=sr1, target_sr=target_sr)
    if sr2 != target_sr:
        target_audio = librosa.resample(target_audio, orig_sr=sr2, target_sr=target_sr)

    # 提取源音频和目标音频的频谱特征
    def extract_features(audio, sr):
        # 短时傅里叶变换
        stft = librosa.stft(audio, n_fft=2048, hop_length=512, win_length=2048)

        # 幅度谱和相位谱
        magnitude = np.abs(stft)
        phase = np.angle(stft)

        # 梅尔频谱
        mel_spec = librosa.feature.melspectrogram(S=magnitude**2, sr=sr, n_mels=128)

        # 频谱包络(近似音色)
        spec_env = np.mean(magnitude, axis=1)  # 平均频谱包络

        return {
            'stft': stft,
            'magnitude': magnitude,
            'phase': phase,
            'mel_spec': mel_spec,
            'spec_env': spec_env,
            'audio': audio
        }

    print("提取源音频特征...")
    source_features = extract_features(source_audio, target_sr)

    print("提取目标音频特征...")
    target_features = extract_features(target_audio, target_sr)

    # 方法1:频谱包络转换
    def method_spectral_envelope(source_features, target_features):
        """
        频谱包络转换方法
        将目标音频的频谱包络调整为源音频的频谱包络
        """
        # 获取源音频的频谱包络(平均)
        source_env = source_features['spec_env']
        target_env = target_features['spec_env']

        # 计算频谱包络的比例
        # 避免除零
        target_env_safe = np.where(target_env > 1e-10, target_env, 1e-10)
        env_ratio = source_env / target_env_safe

        # 限制比例范围,避免过度失真
        env_ratio = np.clip(env_ratio, 0.5, 2.0)

        # 将比例应用到目标音频的STFT幅度
        converted_magnitude = target_features['magnitude'].copy()

        # 对每个频率bin应用包络调整
        for i in range(len(env_ratio)):
            converted_magnitude[i, :] *= env_ratio[i]

        # 保持目标音频的相位
        converted_stft = converted_magnitude * np.exp(1j * target_features['phase'])

        # 使用ISTFT重建音频
        converted_audio = librosa.istft(
            converted_stft,
            hop_length=512,
            win_length=2048,
            length=len(target_audio)
        )

        return converted_audio

    # 方法2:梅尔频谱转换(更稳定)
    def method_mel_conversion(source_features, target_features, sr):
        """
        梅尔频谱转换方法
        保持目标音频的时域特性,只改变频谱特征
        """
        # 获取目标音频的梅尔频谱
        target_mel = librosa.power_to_db(target_features['mel_spec'])

        # 计算源音频和目标音频的梅尔频谱统计
        source_mel_mean = np.mean(librosa.power_to_db(source_features['mel_spec']), axis=1)
        target_mel_mean = np.mean(target_mel, axis=1)

        # 避免除零
        target_mel_mean_safe = np.where(target_mel_mean > 1e-10, target_mel_mean, 1e-10)
        mel_ratio = source_mel_mean / target_mel_mean_safe

        # 限制范围
        mel_ratio = np.clip(mel_ratio, 0.7, 1.5)

        # 创建转换矩阵
        conversion_matrix = np.tile(mel_ratio[:, np.newaxis], (1, target_mel.shape[1]))

        # 应用转换
        converted_mel = target_mel * conversion_matrix

        # 将梅尔频谱转换回线性频谱
        converted_mel_power = librosa.db_to_power(converted_mel)

        # 使用Griffin-Lim算法重建音频
        # 这是一种相位重建算法
        n_iter = 50  # 迭代次数,越高效果越好但越慢

        print("正在使用Griffin-Lim算法重建音频...")
        converted_audio = librosa.feature.inverse.mel_to_audio(
            converted_mel_power,
            sr=sr,
            n_iter=n_iter,
            n_fft=2048,
            hop_length=512,
            win_length=2048
        )

        return converted_audio

    # 方法3:使用源滤波器方法
    def method_source_filter(source_features, target_features, sr):
        """
        源-滤波器模型方法
        将目标音频视为源(声带振动),将源音频视为滤波器(声道形状)
        """
        # 提取源音频的频谱包络作为滤波器
        source_env = source_features['spec_env']

        # 提取目标音频的包络
        target_env = target_features['spec_env']

        # 计算滤波器响应
        # 这实际上是一个频谱整形滤波器
        filter_response = source_env / (target_env + 1e-10)
        filter_response = np.clip(filter_response, 0.3, 3.0)

        # 将滤波器应用到目标音频的STFT
        converted_magnitude = target_features['magnitude'].copy()

        # 应用滤波器
        for i in range(len(filter_response)):
            converted_magnitude[i, :] *= filter_response[i]

        # 重建音频
        converted_stft = converted_magnitude * np.exp(1j * target_features['phase'])

        converted_audio = librosa.istft(
            converted_stft,
            hop_length=512,
            win_length=2048,
            length=len(target_audio)
        )

        return converted_audio

    print("正在进行音色转换...")

    # 尝试不同的方法并选择最好的一个
    try:
        # 方法1:频谱包络转换
        print("尝试方法1: 频谱包络转换...")
        result1 = method_spectral_envelope(source_features, target_features)

        # 方法2:梅尔频谱转换
        print("尝试方法2: 梅尔频谱转换...")
        result2 = method_mel_conversion(source_features, target_features, target_sr)

        # 方法3:源滤波器方法
        print("尝试方法3: 源滤波器方法...")
        result3 = method_source_filter(source_features, target_features, target_sr)

        # 混合结果以获得更好的效果
        # 给方法2(梅尔转换)更高的权重,因为它通常更稳定
        converted_audio = 0.1 * result1[:len(target_audio)] + \
                          0.7 * result2[:len(target_audio)] + \
                          0.2 * result3[:len(target_audio)]

    except Exception as e:
        print(f"转换过程中出现错误: {e}")
        print("使用回退方法...")
        # 简单的回退方法
        converted_audio = target_audio  # 直接返回目标音频

    # 归一化音频
    if len(converted_audio) > 0:
        max_val = np.max(np.abs(converted_audio))
        if max_val > 0:
            converted_audio = converted_audio / max_val * 0.9  # 稍微降低音量避免削波

    # 确保长度匹配
    if len(converted_audio) > len(target_audio):
        converted_audio = converted_audio[:len(target_audio)]
    else:
        # 如果转换后的音频较短,用静音填充
        padding = np.zeros(len(target_audio) - len(converted_audio))
        converted_audio = np.concatenate([converted_audio, padding])

    # 保存结果
    sf.write(output_path, converted_audio, target_sr)
    print(f"转换完成!结果已保存至:{output_path}")
    print(f"输出音频时长: {len(converted_audio)/target_sr:.2f}秒")

    return converted_audio

# 使用示例
if __name__ == "__main__":
    # 测试转换
    voice_conversion(
        "./audio/a.mp3",  # 源音频(提供音色)
        "./audio/b.mp3",  # 目标音频(保持旋律和内容)
        "./audio/converted_song_b.wav"   # 输出音频
    )
Last modified on 2025-12-28